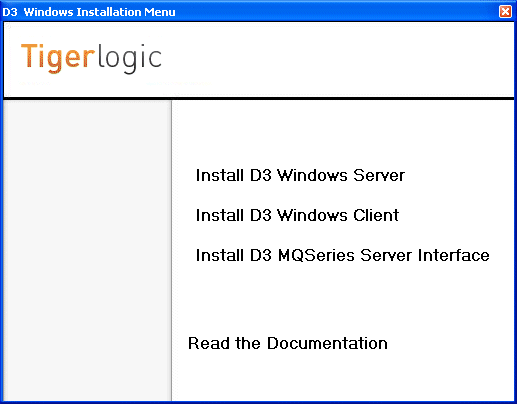
Complete these instructions to install and activate the D3 Windows Server:
|
NOTE |
Administrative rights are required for installing D3 Windows. If the user performing an install does not have admin rights, they will be prompted for a valid user name and password with administrative rights. |
To install the D3 Windows 9.1 Server:
Insert the D3 Windows Installation CD into the CD-ROM drive.
|
NOTE |
If Autorun is not enabled, do the following:
The Run dialog box displays.
|
The D3 Windows Installation dialog box displays.

Click Install D3 Windows Server.
The D3 Windows License Agreement Displays.
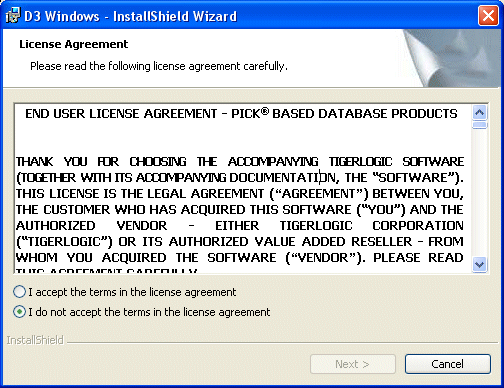
Review the License Agreement, select the I accept option to accept the license agreement, then click Next.
The Destination Directory screen displays.
|
NOTE |
If you are upgrading from D3 7.5.5 or later, continue to step 5. |
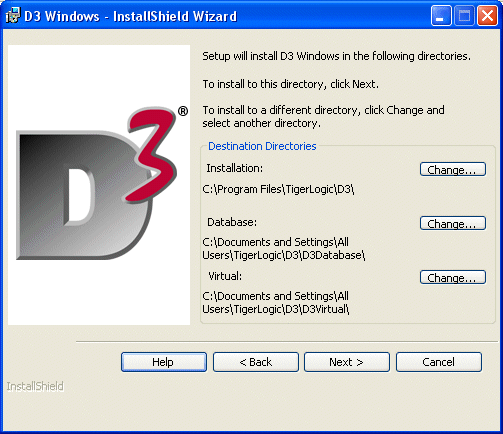
Do one of the following:
Click Next to install using the default folders for the installation, database and VME. Note that the default D3DATABASE directory is set according to the value that exists in the %ALLUSERSPROFILE% environment variable. If you are running D3 Windows on Windows Vista, Windows 7 or 8, or Windows Server 2008 or 2012 with UAC on, do not install the D3DATABASE and D3VIRTUAL directories under program files on the Windows boot drive.
Click the Change button to change any of the default folders. This opens the Change Current Destination Folder dialog box where you can enter the appropriate destination folder. Click OK when this task is complete, then click Next.
The Setup Type dialog box displays.
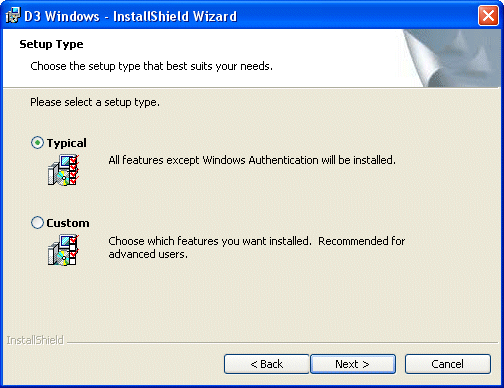
Do one of the following:
|
NOTE |
See Server Installation Options for more information on these options. |
Select the Typical Setup Type, then click Next.
The MDS Server dialog box displays. Proceed to step 9.
Select the Custom Setup Type, then click Next.
The Custom Setup dialog box displays.
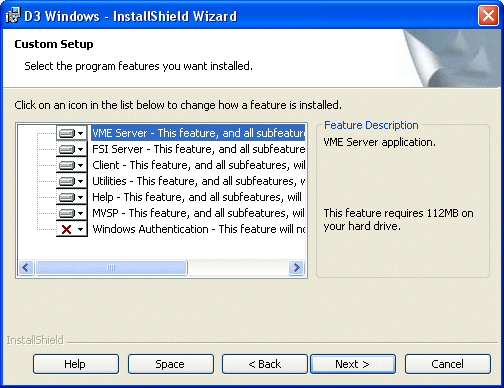
Select the appropriate options to install, then click Next.
|
NOTE |
|
If Windows Authentication was selected from the Custom Setup screen, the Create the MVSP User dialog box displays. Otherwise, proceed to step 9.
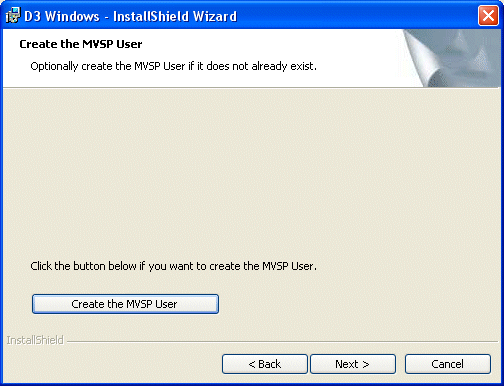
Do one of the following:
Click Next if you don't want to create an MVSP User. The MDS Server dialog box displays. Proceed to step 9.
(Optional) Click the Create the MVSP User button to create the MVSP User (if the user doesn't already exist). Note that the user only needs to be created if you intend to use the MVSP .NET and Java APIs with Windows Authentication turned on. The New User Information dialog box displays.
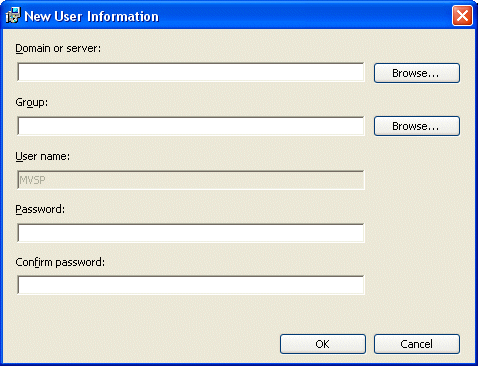
Specify the Domain/Server and Group for the new MVSP user and then type and confirm a Password for the user. The specified Group can be any of the available groups. Click OK and then click Next.
The MDS Server dialog box displays.
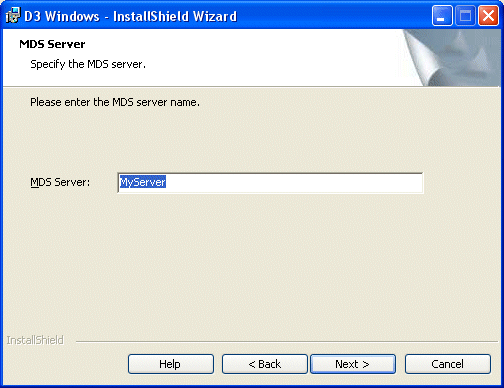
Type a name for the MDS Server (or accept the default), then click Next.
The Service Installation Settings dialog box displays.
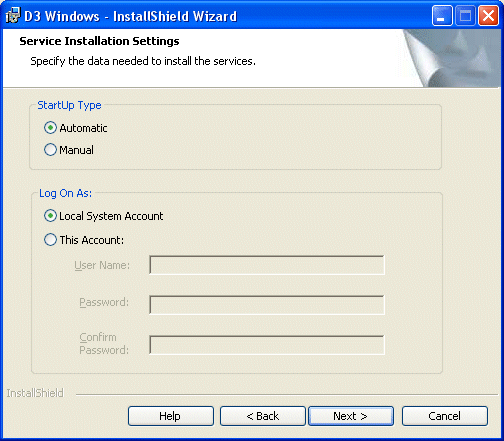
Select one of these StartUp Type options:
Automatic if you want the D3 VME and D3 FSI Services to start when Windows is restarted.
Manual if you want to manually start the D3 VME and D3 FSI services.
Select one of these Log On As options, then click Next:
Local System Account.
This Account, to select a custom Log On setting. The user specified must have administrative privileges. If this option is selected, type a user name in the form: Domain name\User name. Additionally, a password for this user must be entered and confirmed.
The Ready to Install the Program confirmation screen displays.
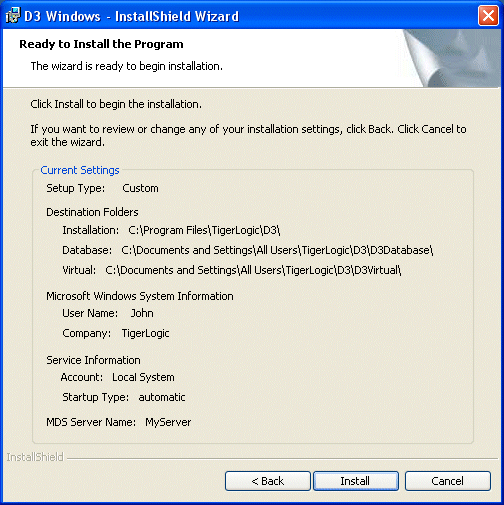
Confirm the settings, then click Install.
The installation process begins.
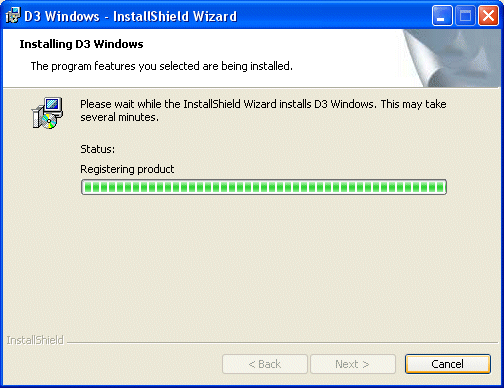
After a short period of time, an activation prompt displays.
|
NOTE |
If the FSI Server option was deselected during installation (and therefore not installed), there is no need to activate and this prompt will not display. |
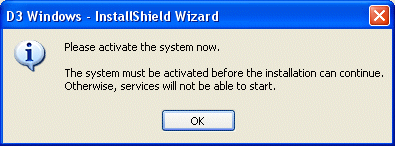
D3 must be activated to complete the installation. If it is not activated, the services will not start.
Click OK.
The D3 License Activation dialog box displays.
|
NOTE |
|
Select the Manual tab.
The Manual tab displays.
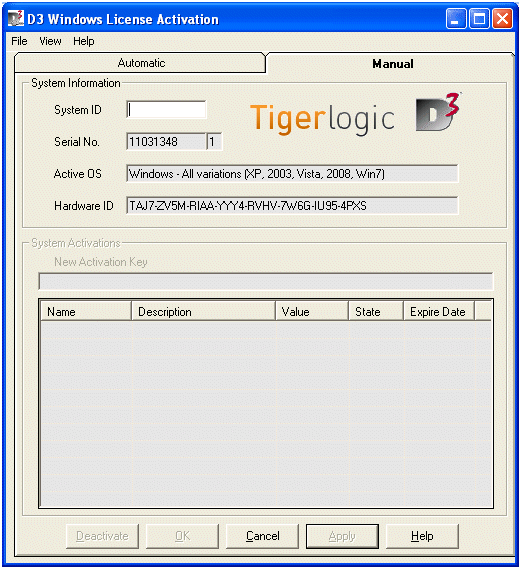
Type your 8-digit System ID in the System ID dialog box, and then click Apply. Your System ID was provided via email at the time of your purchase.
|
NOTE |
|
Contact Rocket Customer Support or use Web activation to obtain your Activation Keys.
Enter your first Activation Key in the New Activation Key dialog box, then click Apply.
The Activation displays in the System Activations list box.
Repeat step 17 for each Activation Key that was provided by Rocket Customer Support or Web activation.
Click OK when you finish entering all of your Activation Keys.
When the installation is complete, the InstallShield Wizard Completed dialog box displays.
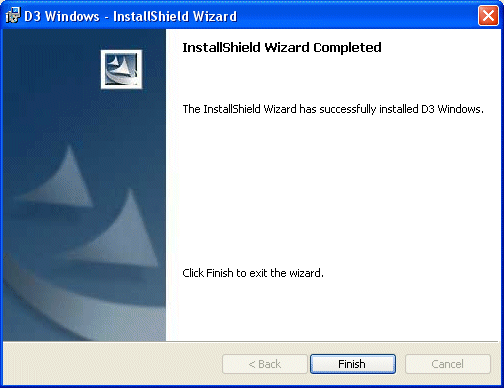
Click Finish to exit the Installation program and complete the Installation.
The Installation process is complete and the D3 Server starts. If upgrading from an earlier version of D3, proceed to Upgrading the Data Set.
See Also
Installing the D3 Windows Client
Starting the D3 Windows Server