If you should ever need to move your D3 Server to a different machine, you will need to deactivate the D3 Server on the current machine.
Shut down the D3 Virtual Machine. Select Administrative Tools > Services from the Control Panel.
The Services dialog box displays.
Select D3 Virtual Machine Environment, then select Action > Stop from the Services dialog box.
The D3 Service is stopped.
Select All Programs > TigerLogic D3 > Activation from the Windows Start button.
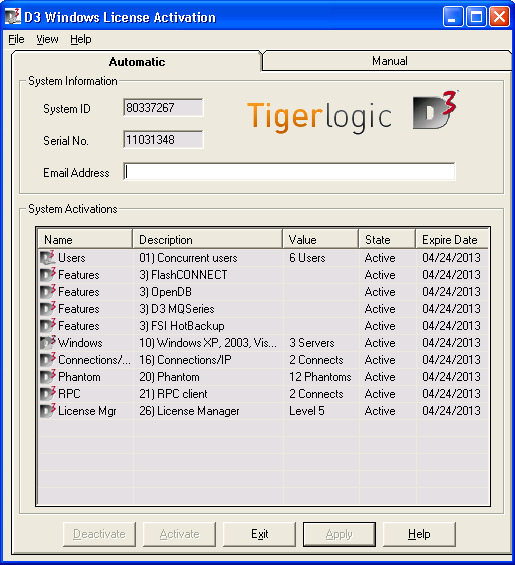
The D3 Windows License Activation dialog box displays.
Enter your email address in the Email Address text box.
Click the Deactivate button and then click OK when prompted for confirmation of the deactivation.
Upon success, the system returns a message indicating that the deactivation on the current machine was successful.
|
NOTE |
If you receive a message indicating that the deactivation process failed, verify that your internet connection is functioning properly (this is the most common reason for deactivations to fail). If your internet connection is functioning properly, please contact Rocket Customer Support for further assistance. |
Install and activate the D3 Server on a new machine. See Installing the D3 Windows Server for more information.
See Also
Installing the D3 Windows Server
Installing the D3 Windows Client
Starting the D3 Windows Server