Installing the D3 Windows Client
Complete these instructions to install and activate the D3 Windows Client.
Procedure
- Select Install D3 Windows Client.
The D3 Windows License Agreement displays.
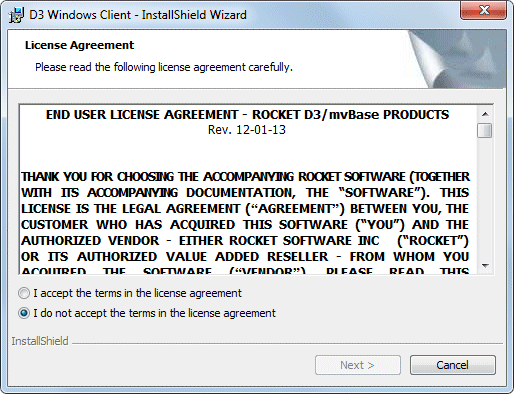
- Review the License Agreement, select
the I accept option to accept the license agreement,
then click Next.
The Destination Directory screen displays.
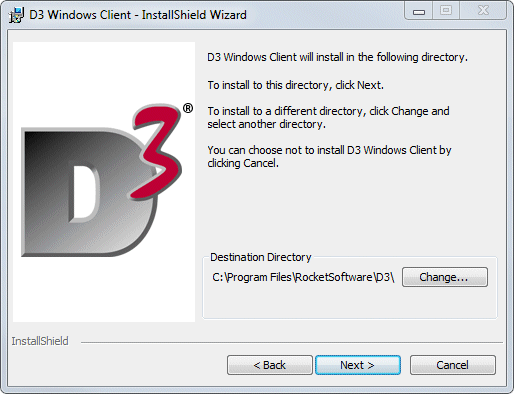
- Do one of the following:
Click Next to install using the default installation folder.
Click the Change button to change the default folder. This opens the Change Current Destination Folder dialog box where you can enter the appropriate destination folder. Click OK when this task is complete, then click Next.
The Setup Type dialog box displays.
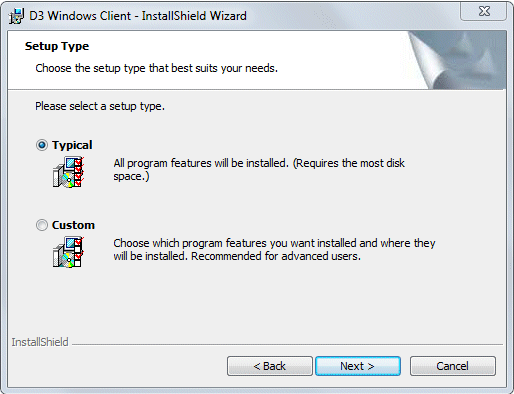
- Do one of the following:
Select the Typical Setup Type, then click Next.
The Client Setup dialog box displays. Proceed to step 7.
Select the Custom Setup Type, then click Next.
The Custom Setup dialog box displays.
Note: See Client installation optionsfor more information on these options.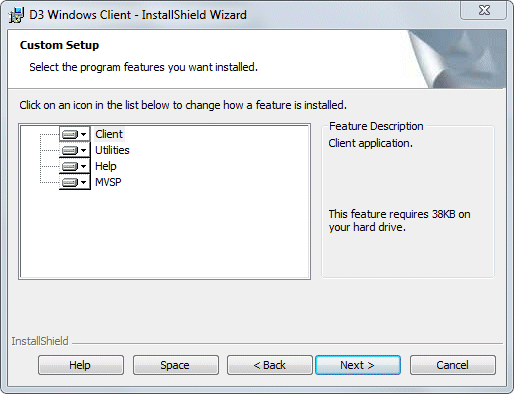
- Select the appropriate options to install, then click Next.
Note:
By default, all features are installed. See Client installation optionsfor more information on these options.
If you choose not to install the Help, the Help buttons and Menu options in the D3 File Manager will not work.
The Client Setup dialog box displays.
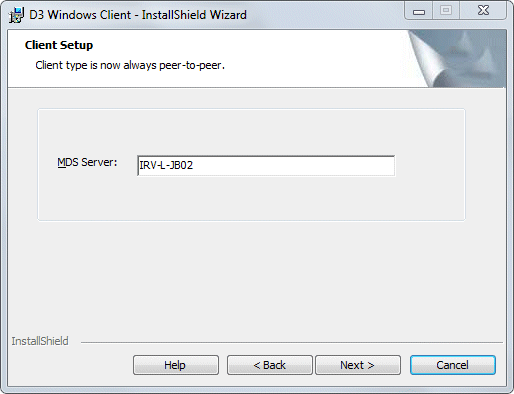
- Click Next.
The Ready to Install the Program confirmation screen displays.
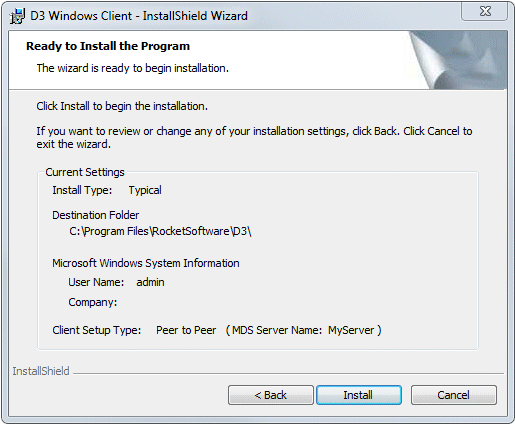
- Confirm the settings, then click Install.
The installation process begins.

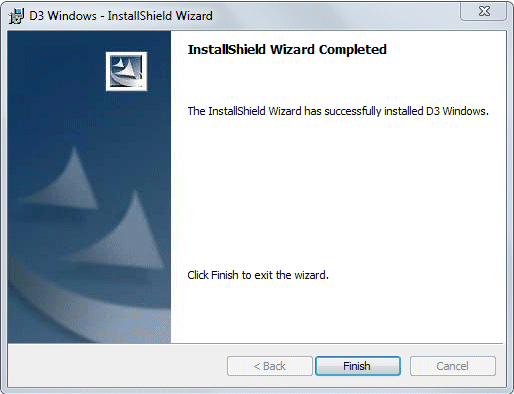
When the installation is complete, the InstallShield Wizard Completed dialog box displays.