Create a dynamic array using drag-and-drop
You can quickly create a dynamic array using drag-and-drop from the MV Server Explorer.
Procedure
-
Right-click the Web Service Operation or Resource in which to create the dynamic array from
the MV Web Service Explorer and select the Create Dynamic
Array option.
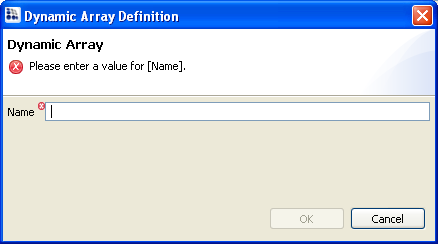
The Dynamic Arrays definition dialog box displays.
-
Click OK to confirm the action.
The following image illustrates dragging the CUSTOMERS file onto the customers dynamic arrays form in the Editor panel.
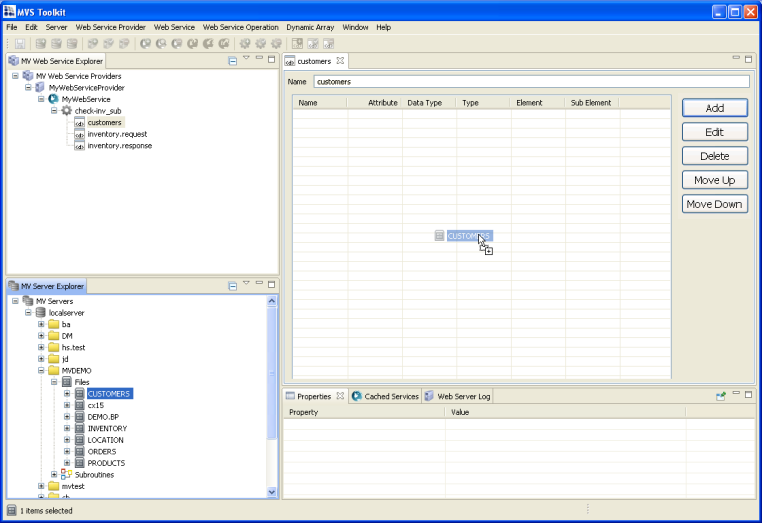
The CUSTOMERS dynamic arrays form is populated with all of the fields contained in the file.
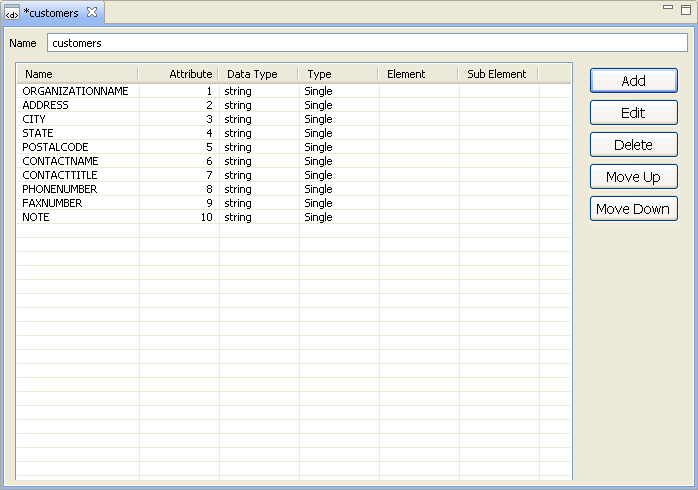 Note: All fields in the file are assigned the Type Single. This means that you will need to manually assign any Multi Values or Sub Value types that exist in your file.
 -
Do any of the following:
- Select any field(s) from the table and click Edit to open the Field Definition dialog box and make the appropriate changes to the Type (including specifying the appropriate Elements and Sub Elements).
- Click Add to define a new field for the dynamic array.
- Select any field from the table and click Move Up or Move Down to adjust the positioning of the dynamic array elements.
- Select any field(s) from the table and click Delete to remove any of the fields from your dynamic array.
- See Define a dynamic array on a cataloged subroutine for more information on defining fields in a dynamic array.
- Click Save
 when you are done
editing the dynamic array.Tip:
when you are done
editing the dynamic array.Tip:- You can copy a dynamic array defined on a cataloged subroutine to another cataloged
subroutine from the MV Web Service Explorer.
To accomplish this, drag the desired dynamic array from one subroutine and drop it into another. This opens the Dynamic Array Definition dialog box where you can specify a name for the dynamic array. After specifying the name, click OK to complete the copy operation. The new dynamic array displays in the specified cataloged subroutine.
- You can also create a dynamic array by dragging a file from the MV Server
Explorer to a cataloged subroutine in the MV Web Service
Explorer. This displays the Dynamic Array Definition dialog box. Note: The dynamic array name defaults to the filename appended with the text –ITEM.
For example, if you drag the INVENTORY file to a cataloged subroutine in the MV Web Service Explorer, the dynamic array name defaults to INVENTORY-ITEM. However, you can manually change this to any desired name.
- You can copy a dynamic array defined on a cataloged subroutine to another cataloged
subroutine from the MV Web Service Explorer.
See Test a web service that employs a dynamic array for testing instructions.