 NOTE Further
modification of SETUP.INI can
create a Quiet Mode Installation,
eliminating all end user intervention beyond typing “Setup”. This
prevents the user from changing any of the setup parameters during the
installation.
NOTE Further
modification of SETUP.INI can
create a Quiet Mode Installation,
eliminating all end user intervention beyond typing “Setup”. This
prevents the user from changing any of the setup parameters during the
installation.|
Administering BlueZone |
Chapter 6 |
Now that you have completed the installation of BlueZone on your network server, the next step is to setup BlueZone on an End User's workstation. Setting up a Zero Footprint Workstation is very straight forward. The Network Installation process modified the SETUP.INI file with all of the values necessary to create the workstation installation.
NOTE Further
modification of SETUP.INI can
create a Quiet Mode Installation,
eliminating all end user intervention beyond typing “Setup”. This
prevents the user from changing any of the setup parameters during the
installation.
The following example will show the standard Workstation Installation created by the BlueZone Setup program.
 SEE
Appendix
A - SETUP.INI for information about customizing the setup process.
SEE
Appendix
A - SETUP.INI for information about customizing the setup process.
To Setup a Zero Footprint Workstation, simply follow these steps:
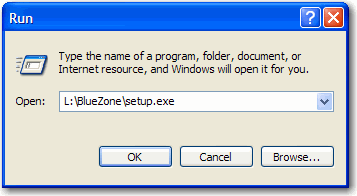
Click Start:Run and enter the path to the server where the BlueZone files were installed, followed by SETUP.EXE and click the OK button.
The BlueZone Setup program will display the BlueZone Installation Language dialog. Choose the desired language from the list box and click the OK button.
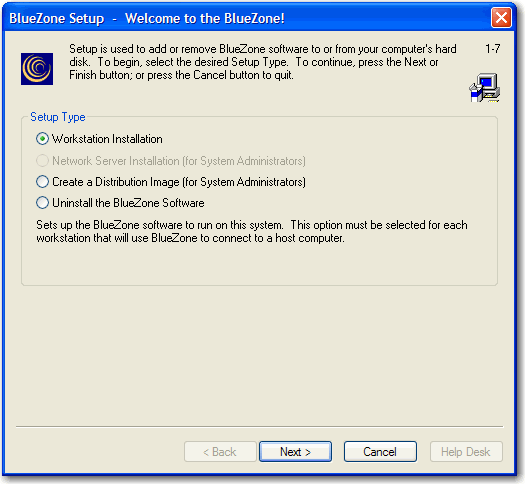
The following BlueZone Setup dialog will be displayed. The Workstation Installation radio button will be selected. Click the Next button.
The BlueZone Software License Agreement dialog will be displayed. Answer as appropriate then click the Next button.
We recommend that you let BlueZone determine the correct Working Drive and Directory as shown:
NOTE If
you are an experienced user, you can manually enter the appropriate paths
or browse to these paths as needed.
NOTE If
you are installing BlueZone on a Windows 2000 or Windows XP workstation
that will be shared by more than one user, check the Always
use the Personal Folder as the Working Directory check box so that
each user can store their own configurations and files.
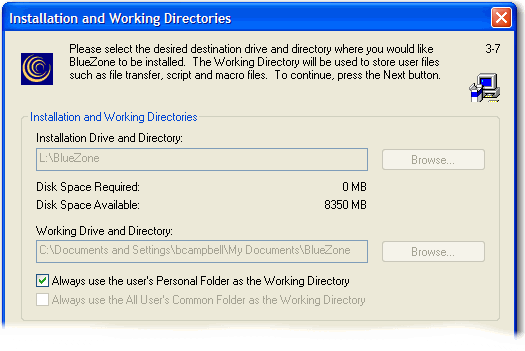
NOTE that
the Disk Space Needed to Install
Selected Components is 0 MB!
Click the next button. The BlueZone Components dialog will be displayed as shown:
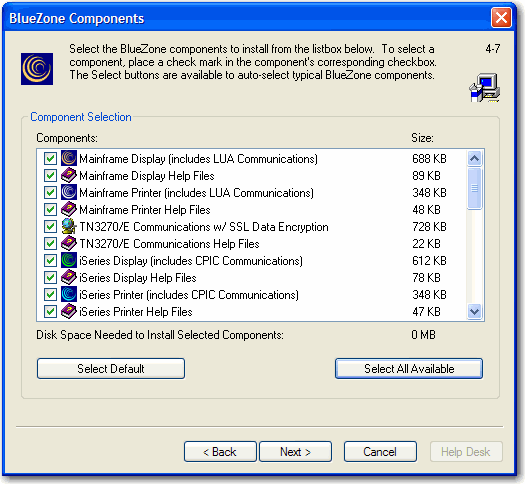
Select the BlueZone Components to be installed. Uncheck any unwanted components from the installation, then click the Next button.
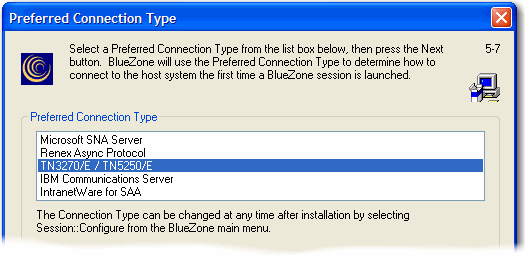
The Preferred Connection Type selected during the Network Installation is already highlighted. The user may choose to change this. Click the Next button.
The Program Group Options selected during the Network Installation are pre-selected. The user may choose to change these at this time.

Click the Next button. The Launch Selected Items dialog will be displayed:
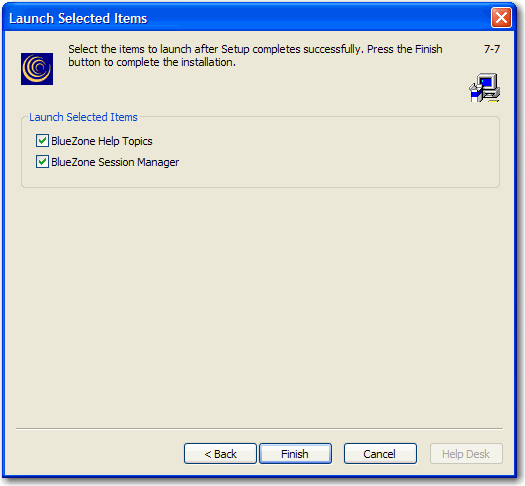
Choose any items that you want to be launched immediately after the installation is completed. Click the Finish button.
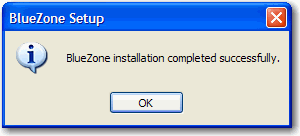
The selected BlueZone files will be installed, the BlueZone Program Group will be created, desktop shortcuts will be created and a message box letting you know that the installation was completed successfully will be displayed:
The Workstation Installation is now complete.
The user may now click a BlueZone Desktop Shortcut or Launch the BlueZone Session Manager to launch a BlueZone Session.
Related Topics: