Defining Split Bars
-
In the Resource
Browser, select a vertical split bar or horizontal split bar, position the cursor where
you want to place the split bar, and click the form canvas.
Note: The order in which split bars are defined affects their length and attachment points. Each split bar serves as an anchor for the next split bar.
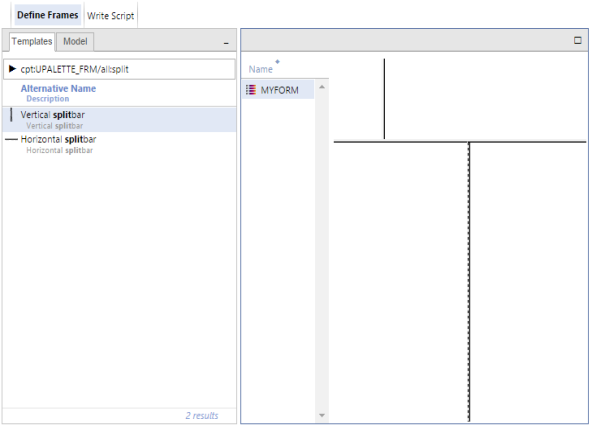
- Select the split bar, click in the Canvas, then move it into the desired position.
-
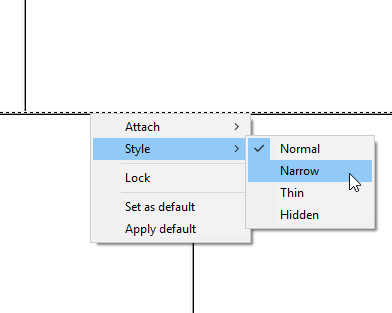
Set the properties of each split bar. Right-click the split bar and choose one of the following:
- Attach—control the window edge that the split bar follows when the form is resized
- Style—control the appearance or visibility
- Lock—lock or unlock the split bar
-
Optionally, set defaults for subsequent
split bars. Right-click the split bar and choose one of the following:
- Set as Default—apply the current properties (except Attach) to all subsequent split bars.
- Apply Default—apply the normal Uniface development default properties.
-
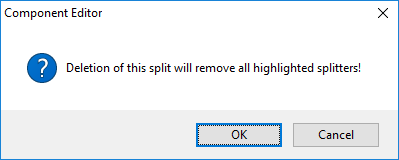
To delete a split bar, select it and press
the Delete key.
Note: If you attempt to delete a split bar that directly affects other split bars on the form, a warning message is displayed.