Setting up the project
Follow the steps below to setup the new HFLI project.
| 1. | Create a new C# windows application. For example, you might name this project HostFront_Integration. |
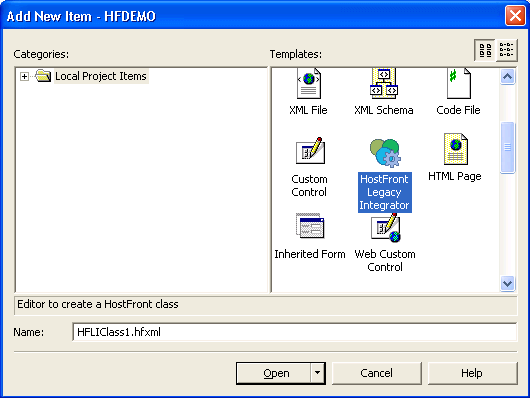
| 2. | In Solution Explorer, right-click the project name. On the shortcut menu, click Add, and then click Add New Item. The Add New Item dialog box appears.  |
| 3. | Choose HostFront Legacy Integrator from the right pane, accept the default name HFLIClass1.hfxml and click Open. The following screen appears. |
| 4. | To generate a web service, choose web service from the drop-down menu under the toolbar button Class/Web Service At the first
save of a navigation in the current project, a new file HFClass.asmx will be created and added to the project. Note When you generate a web service, you need to specify parameters for the connection for this service, which are most probably
different from those used at design time.
|
| 5. | Unless you choose another name for the Navigation, this creates a new file in your project named HFLIClass1.hfxml. The HFLI opens a design view on HFLIClass1.hfxml. |