|
9. |
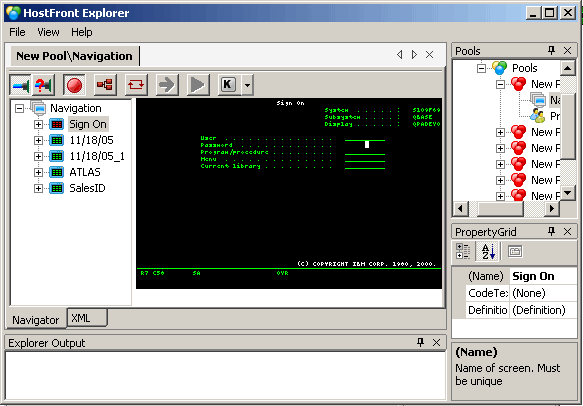
In the Pools window, when you click on any New Pool the following properties will appear in the Properties Grid that you can configure according to your requirements:
|
a. |
Name: Refers to the name of the pool. This name is used to access the pool from your integration application.
Notes
|
• |
Pool Name is case sensitive |
|
• |
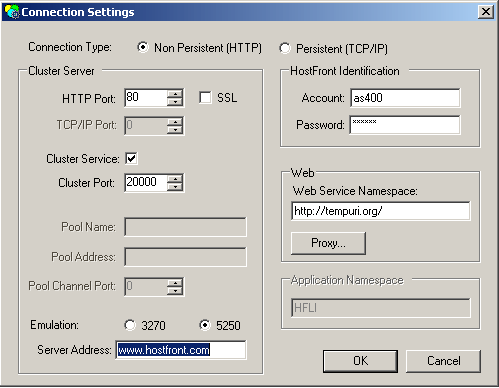
HostFront Server IP Address, Port, and the Emulation Type can only be configured from the Connection Settings dialog box.
|
|
|
b. |
Checkout Time Limit: When a session is taken from the pool by an application, the pool service will expect it to be released back within this
time limit. If the session was not returned within this time limit, the pool service will disconnect that session and establish
a new one as a replacement using the same parameters of the original session. This feature allows the pool to maintain its
sessions at all times should the application(s) using the sessions face a problem and fail to return the sessions to the pool.
|
|
c. |
Log Folder: The pool service will log its activities to log files in the specified folder. Logging is controlledd by the next two properties.
|
|
d. |
Log Pool Activities: If True, the pool service will log all activities to a file in the log folder. The logs will include detailed information
about the sessions connecting (or not) at start up, what sessions ID's are assigned, the profile information used, the requests
received from applications using the pool and the returns of sessions. |
|
e. |
Log Start up Screens: If True, the pool service will dump to a text file in the log folder all the screens navigated during the startup. This
file can be useful to debug navigation problems causing the pool not to start properly. |
|
f. |
Poll: Refers to the interval at which the pool manager service will poll the HostFront servers to check the status of the pools
sessions and keep them alive. |
|
g. |
Port: Refers to the port of the HostFront cluster entry point. Serial Start: refers to how the pool sessions will start. For
instance, if this property is set to 'True', the sessions of the pool will start one after the other as opposed to all in
parallel. |
|
h. |
Server IP: Refers to the IP address (or computer name) of the HostFront cluster entry point. |
|
i. |
Sessions: Refers to the number of sessions needed in this pool. This property allows you to define not only the number of session
but also the HostFront user accounts that will be used by a pool. Each user .account is used in a round-robin mechanism by
the pool service. It is important for you to ensure that each account is configured on the HostFront cluster and has the required
sessions. |
|
j. |
Start at Start up: Refers to when the pool will start. If this property is set to 'True', the pool starts when the Pool Manager Service starts.
If it is set to 'False', the pool has to be started manually by the user interface or programmatically through the integration
application. |
|
k. |
User Cluster: Used for backward compatibility. If set to True, the Pool Manager will use the connect method of Version 4.x. If set to
False, it will use the connect method of Version 3.5.x. |
|