Upgrading versions 3.3 through 4.0
Starting with BlueZone version 4.1, BlueZone uses an MSI type installer (InstallShield Wizard), to keep track of all the installed
BlueZone files. Since you are upgrading a version between 3.3 and 4.0, this is the first time that the InstallShield Wizard
has an opportunity to run. This means that for this upgrade only, the InstallShield Wizard is performing what is essentially
a full BlueZone installation. In the future, BlueZone upgrades are under the control of the InstallShield Wizard, and therefore,
are much easier to perform.
Your current BlueZone user created files, such as profiles (configuration files), scripts, macros, etc., remain intact and
are fully compatible with the upgraded version of BlueZone.
| 1. | Insert the BlueZone CD-ROM into your computer's CD/DVD drive. The Welcome to BlueZone screen opens.
|
| 2. | Click the BlueZone Desktop link and select BlueZone Desktop. The BlueZone Installation Language screen appears.
|
| 3. | Select the desired language from the drop-down list and click OK. The InstallShield Wizard disappears from the screen while it removes your old copy of BlueZone. This process can take a minute
or two.
The Welcome to the InstallShield Wizard for BlueZone screen appears.
|
| 4. | Click Next. The License Agreement screen appears.
|
| 5. | To proceed, select the I accept the terms in the license agreement radio button and click Next. The Destination Folder screen appears.
|
| 6. | Change the Installation and Working Directories as needed or accept the default (recommended) and click Next. The Component Selection screen appears.
|
| 7. | Review the default selections. Use the scroll bar on the right hand side view all components. By default, some BlueZone components are selected for installation
and some are not. The components that have a diskette icon are installed and the components that have a red X icon are not
installed.
|
| 8. | Click the BlueZone components you want to change. Also, choose whether you want BlueZone to be available to all users of
just yourself. Note For a description of a particular component, highlight the component and read the Feature Description which appears on the
right-hand side of the screen.
|
| 9. | Click Next. The Ready to Install the Program screen appears.
|
| 10. | Click Install. The following message appears: 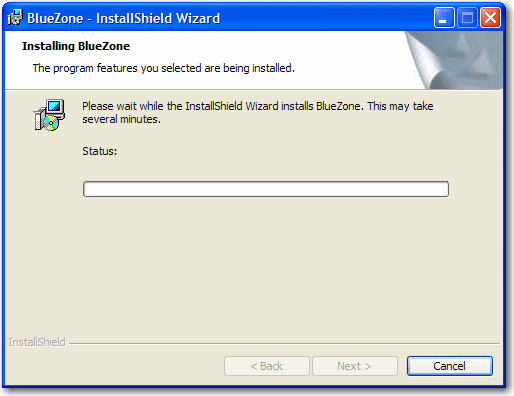 It is normal for the progress bar not to move for several minutes.
When the installation is complete, a screen stating that the installation has completed successfully appears.
|
| 11. | Click Finish to exit the Wizard. You receive a message that you must restart your system. Note If you do not want to restart you system now, you can wait until a more convenient time. Do not attempt to use BlueZone until
your system is restarted.
|