|
Configuring BlueZone |
Chapter 5 |
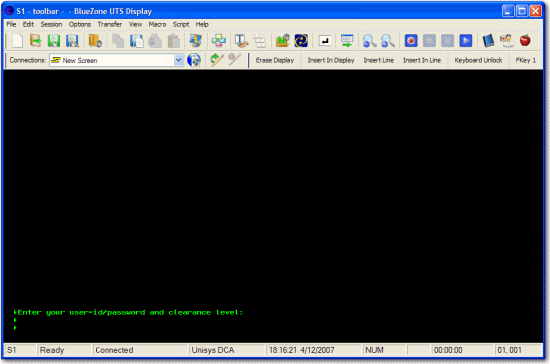
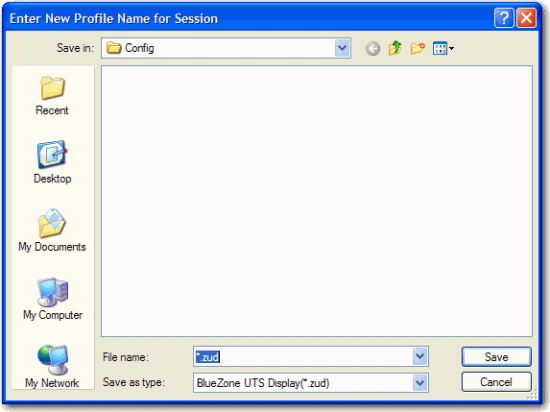
Launch a BlueZone UTS display session from within the Session Manager or from the desktop icon. A dialog will be displayed prompting you for a profile name as shown:
In the File name: editbox, type in the desired name and click the Save button. BlueZone will automatically assign the correct file extension for the session type.
A message box will be displayed asking you if you want to create the file. Click the Yes button.
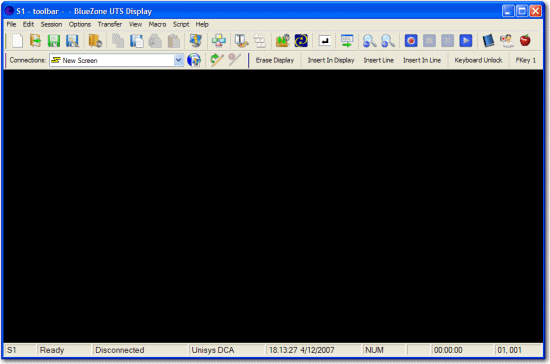
When the session launches, you will be presented with the BlueZone UTS display as shown:
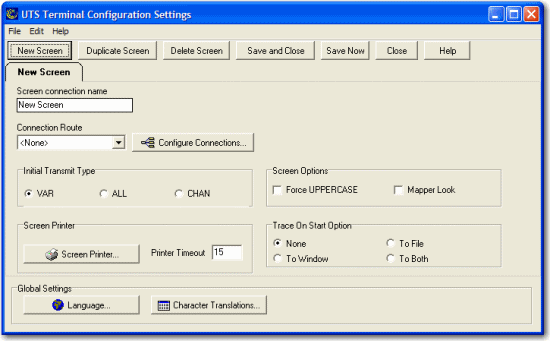
On the BlueZone MenuBar select Session:Configure:Configure. You will be presented with the UTS Terminal Configuration Settings dialog as shown:
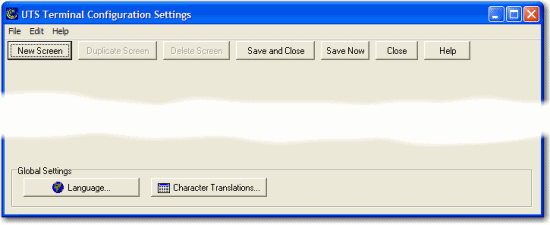
Select the New Screen button. The New Screen tab will appear in the display as shown. You can name the screen any name you wish by editing the name in the Screen connection name box.
Select the Configure Connections button. The following dialog will be displayed:
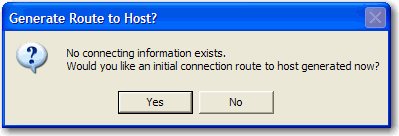
Click the Yes button. The UTS Connection Configuration dialog will be displayed as shown:
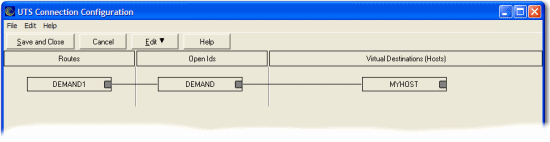
Double-click the MYHOST button. The Edit Virtual Destination dialog will be displayed as shown:

Enter your host's IP address and IP Port Id. The IP address can be a numeric IP Address or a DNS Name.
Click the OK Button. You will be brought back to the UTS Connection Configuration dialog.
Click the Save and Close button. You will be brought back to the UTS Terminal Configuration Settings dialog.
From the Connection Route drop-down list, select an available route. If you followed the previous steps, DEMAND1 should be available.
Click the Save and Close button.
Click the OK button on the Session Configuration dialog.
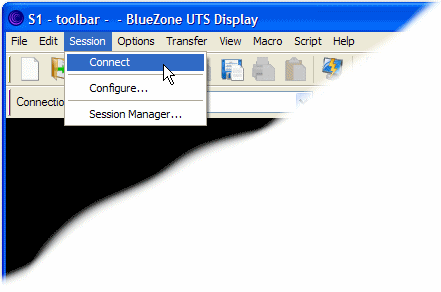
From the BlueZone MenuBar, select Session:Connect.
You should now be connected to your host. Note the words "Ready" and "Connected" on the BlueZone StatusBar.