 Using the Display Interface
 Using the Display Interface
Invoke the Host File Transfer property sheet, from the BlueZone MenuBar by selecting Transfer:Configure. The Host File Transfer property sheet will be displayed.
 NOTE Very
Important! In
Kermit File Transfer, the sending and receiving of files is from the perspective
of the host system. For
example, sending a file means that the host is sending a file to your
PC. Receiving
a file means that the host is receiving a file from your PC.
On the Transfer tab, place the name of the file you wish for the host to receive in the PC File editbox by clicking the Browse button and navigating to the file. Click the Save button.
 TIP If
you place the file or files you wish for the host to receive in your BlueZone\Transfer
folder, a list of these files will automatically be displayed when you
click the Browse button.
Choose the desired file transfer option; ASCII, Binary or Auto-Detect. If you are not sure what value to use, choose Auto-Detect.
Check the Advanced tab for any configuration changes that might be needed.
Click the Receive
File ![]() icon located on the Host File Transfer ToolBar. A
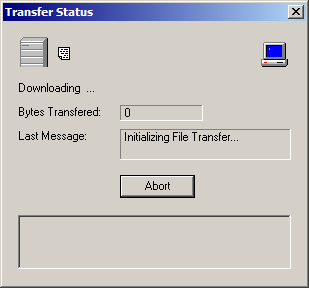
Transfer Status dialog will be displayed showing the progress of your
file transfer. Click
the Abort button if you wish to
abort the file transfer.
icon located on the Host File Transfer ToolBar. A
Transfer Status dialog will be displayed showing the progress of your
file transfer. Click
the Abort button if you wish to
abort the file transfer.

On the Transfer tab, enter the name of the file that you wish the host to send in the Host File editbox.
Choose the desired file transfer option; ASCII, Binary or Auto-Detect. If you are not sure what value to use, choose Auto-Detect.
Check the Advanced tab for any configuration changes that might be needed. Make sure that the Default Transfer Path location is acceptable.
Click the Send
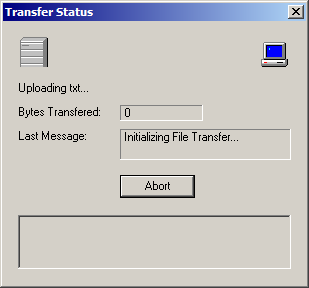
File ![]() icon located on the Host File Transfer ToolBar. A Transfer Status
dialog will be displayed showing the progress of your file transfer. Click
the Abort button if you wish to abort the file transfer.
icon located on the Host File Transfer ToolBar. A Transfer Status
dialog will be displayed showing the progress of your file transfer. Click
the Abort button if you wish to abort the file transfer.
