Locate your SEAGULL Secure FTP Pro Installation Key. You must run the SEAGULL Registration Wizard to complete the installation process.
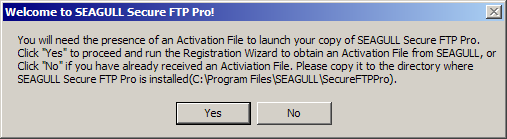
After successfully installing SEAGULL Secure FTP Pro, you will receive the following message:
Click the Yes button, to launch the SEAGULL Registration Wizard.
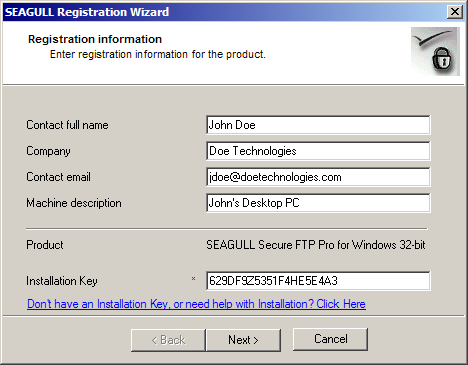
You will be presented with the Registration Information screen. Fill in all the fields on this form including your SEAGULL Secure FTP Pro Installation Key. All fields are required. Once all the fields are properly filled in, click the Next button.
You will be presented with the Activation Request Submit screen. Choose the “via Web (requires direct Internet connection)" radio button and click the Next button.
You will be presented a screen that will show the progress of the registration request. When the registration process is complete, click the Next button.
You will be presented with a screen that shows the path where your SEAGULL Activation File (seagull.saf) was stored. This file is unique to each machine and will not work if copied to another machine. Click the Finish button.
 NOTE If
you have purchased multiple SEAGULL Secure FTP Pro licenses, install the
software and run the SEAGULL Registration Wizard on each machine using
the same installation key. The SEAGULL Registration Wizard will keep track
of the number of installations and will not allow any more than the number
of licenses purchased. The SEAGULL Activation File that is generated is
unique to each machine and will not work if copied to another machine.
NOTE If
you have purchased multiple SEAGULL Secure FTP Pro licenses, install the
software and run the SEAGULL Registration Wizard on each machine using
the same installation key. The SEAGULL Registration Wizard will keep track
of the number of installations and will not allow any more than the number
of licenses purchased. The SEAGULL Activation File that is generated is
unique to each machine and will not work if copied to another machine.
When the registration process is complete, a Windows file dialog will be displayed as shown:
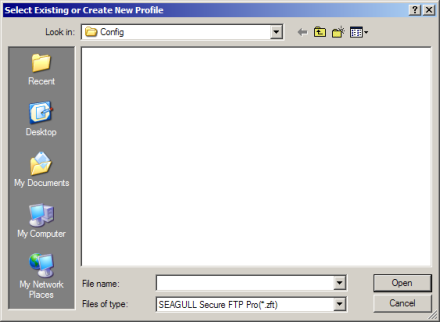
Enter a file name in the File Name edit box and click the Open button. A message letting you know that the file does not exist, will be displayed Click the Yes button.
SEAGULL Secure FTP Pro will launch prompting you to define a new connection. Enter the Connection Name, Host Address and TCP Port. Also enter a Username and Password. Click the OK button. Click the OK button again to close the Session Configuration dialog.
You should now be able to connect to your FTP Host system by selecting Session:Connect from the SEAGULL Secure FTP Pro MenuBar.
You can now close the Program Group window that was opened during the installation.
Congratulations! You have successfully installed and configured you first SEAGULL Secure FTP Pro session.