|
Administering BlueZone |
Chapter 6 |
BlueZone is so compact that it can be executed by all local area network users from a single, shared network drive without installing any program files on the end user’s system except the font file and Windows Registry Settings. When a BlueZone Display session is launched, about 600k bytes of files are loaded from the shared drive into memory on the user’s system. This is a true Zero Footprint installation that eliminates most end-user software installation, configuration and administration problems.
To install BlueZone on a network server, simply follow these steps:
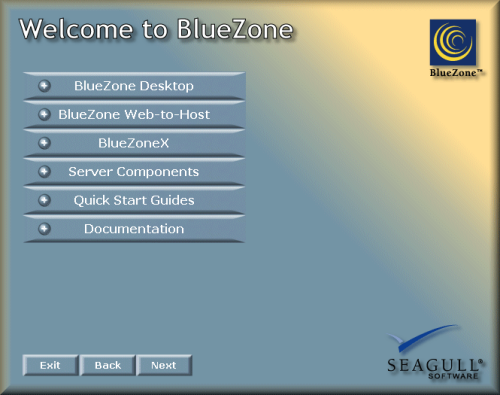
Insert the BlueZone CD into your CD drive. The BlueZone CD will automatically launch the following Welcome to BlueZone “splash" screen:
Illustration 6-2
With your mouse, click the BlueZone link then the BlueZone Desktop link as shown:
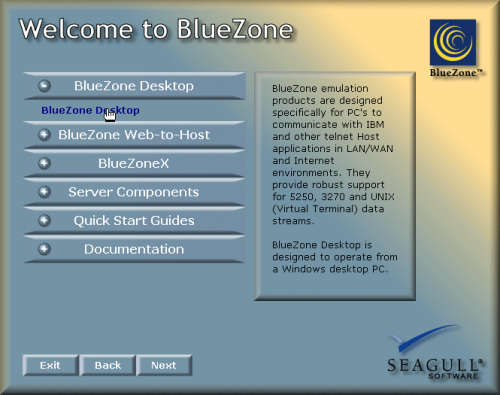
Illustration 6-3
The BlueZone Setup program will display the following BlueZone Installation Dialog. Select the Network Server Installation radio button and enter your 14 digit BlueZone Registration Key. Click the Next button.

Illustration 6-4
The BlueZone Software License Agreement dialog will display. Answer as appropriate then click the Next button.

Illustration 6-5
Enter the path to the Installation Drive and Directory that the users will use to access the BlueZone files. Click the Next button.
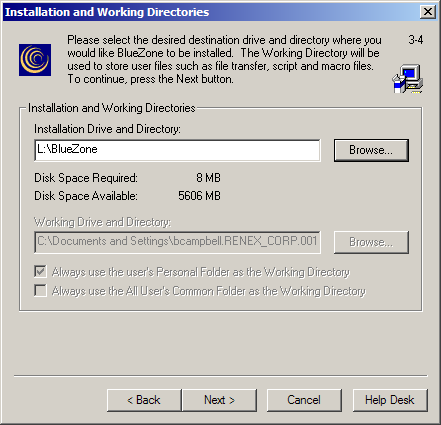
Illustration 6-6
Select the components to be installed using the Component Selection dialog. Unselected components will not be copied into the destination directory. Click the Finish button.

Illustration 6-7
This setup program automatically updates the SETUP.INI with this information. When the user runs Workstation Installation the icons in the program group or on their desktop will point to this drive and directory.
When all the files are copied, the following message will be displayed:
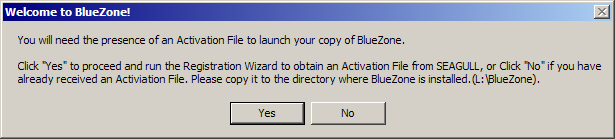
Illustration 6-8
Click the No button. You do NOT want to run the SEAGULL Registration Wizard.
Copy your Software Activation File (seagull.saf) to the same location where you just copied all the BlueZone files.
Make any necessary changes to the SETUP.INI to further customize the Workstation Installation.
Set the directory to READ-ONLY to prevent an accidental uninstall.
BlueZone is now ready to setup Zero Footprint Workstations.
Now that you have completed the installation of BlueZone on your network server, the next step is to setup BlueZone on an End User's workstation. Setting up a Zero Footprint Workstation is very straight forward. The Network Installation process modified the SETUP.INI file with all of the values necessary to create the workstation installation.
NOTE Further modification of SETUP.INI can create a Quiet Mode Installation, eliminating all end user intervention beyond typing “Setup”. This prevents the user from changing any of the setup parameters during the installation.
The following example will show the standard Workstation Installation created by the BlueZone Setup program.
SEE Appendix A - SETUP.INI for information about customizing the setup process.
To Setup a Zero Footprint Workstation, simply follow these steps:
Click Start:Run and enter the path to the server where the BlueZone files were installed, followed by SETUP.EXE and click the OK button.
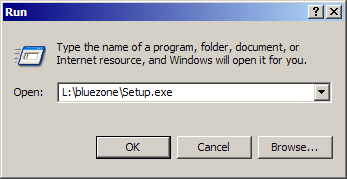
Illustration 6-9
The BlueZone Setup dialog appears. The Workstation Installation radio button is already selected and the Registration Number is already entered in the edit box. Click the Next button.
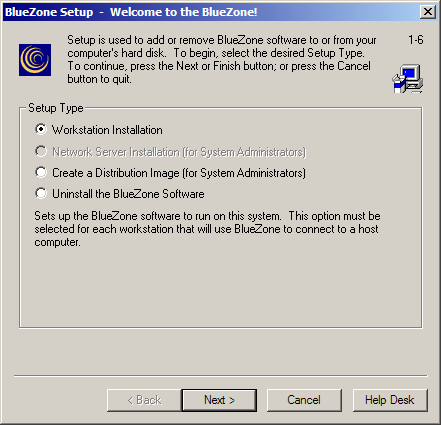
Illustration 6-10
The BlueZone Software License Agreement dialog will display. Answer as appropriate then click the Next button.
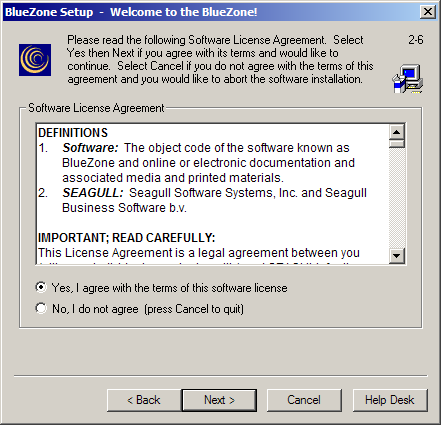
Illustration 6-11
We recommend that you let BlueZone determine the correct Working Drive and Directory. Click the Next button.
NOTE If you are an experienced user, you can manually enter the appropriate paths or browse to these paths as needed.
NOTE If you are installing BlueZone on a Windows 2000 or Windows XP workstation that will be shared by more than one user, check the Always use the Personal Folder as the Working Directory check box so that each user can store their own configurations and files.
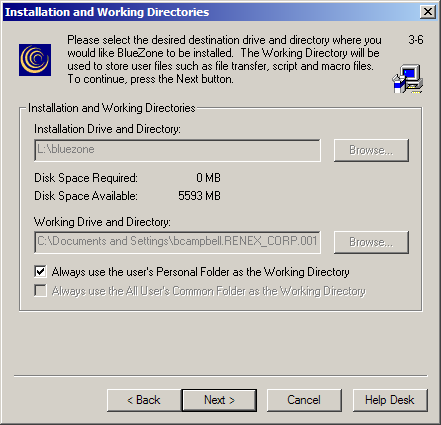
Illustration 6-12
NOTE that the Disk Space Needed to Install Selected Components is 0 KB!
Select the BlueZone Components to be installed. Uncheck any unwanted components from the installation, then click the Next button.
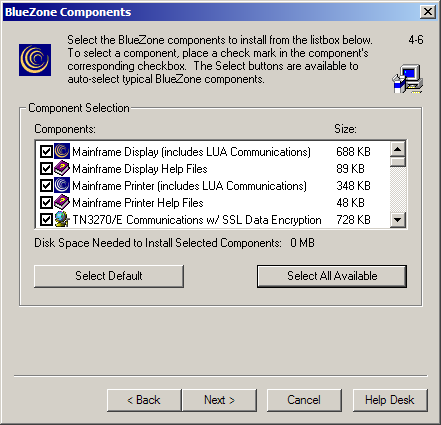
Illustration 6-13
The Preferred Connection Type selected during the Network Installation is already highlighted. The user may choose to change this. Click the Next button.
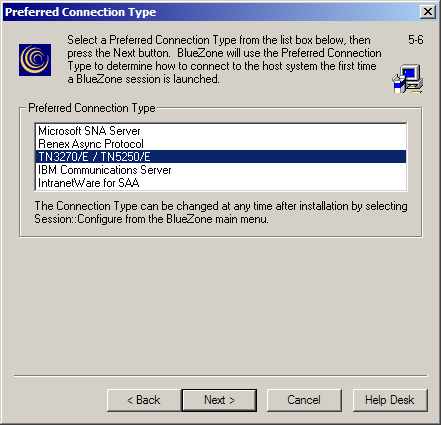
Illustration 6-14
The Program Group Options selected during the Network Installation are pre-selected. The user may choose to change these at this time.
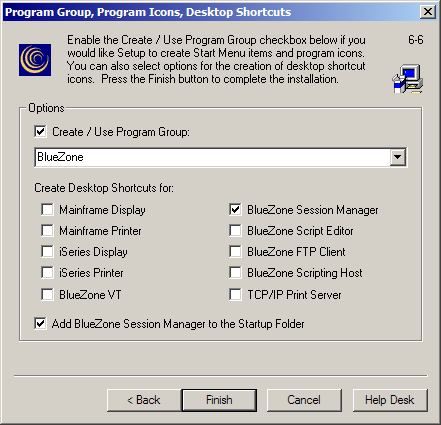
Illustration 6-15
Click the Finish button. The Workstation Installation is now complete.
The user may now click a BlueZone Desktop Shortcut or Launch the BlueZone Session Manager to launch a BlueZone Session.